
When a monitor shows an “Input Not Supported” message, it stops everything. But, there are ways to fix this issue fast. The article lists five simple steps to get rid of the error and get back to work or play without hassle.
1. Check Display Cables
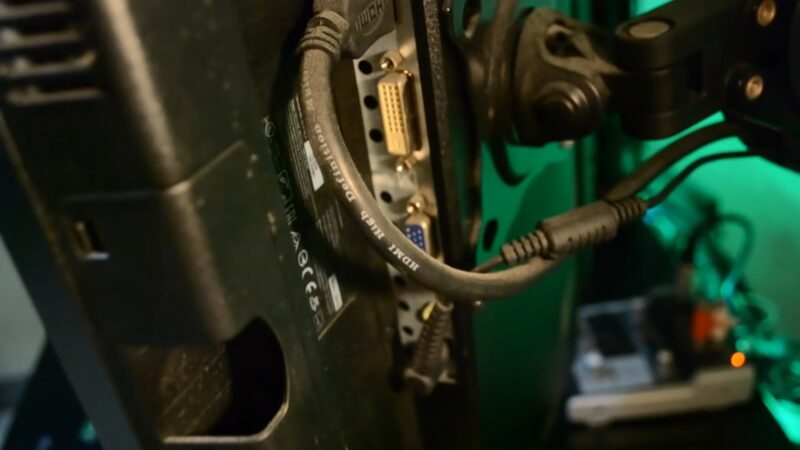
When an “Input Not Supported” error appears, the first step is to inspect the display cables. These cables serve as the critical link between the monitor and the computer. A loose or damaged cable can disrupt this connection, leading to display errors.
If your monitor suddenly goes into sleep mode, this solution should be the first one to try with.
Ensure Proper Connection
- Examine the Cable Ends: Check both ends of the cable for any signs of damage or bending.
- Secure the Connections: Unplug and then firmly replug the cables into both the monitor and the computer. Sometimes, a connection might seem tight, but a slight adjustment can make a difference.
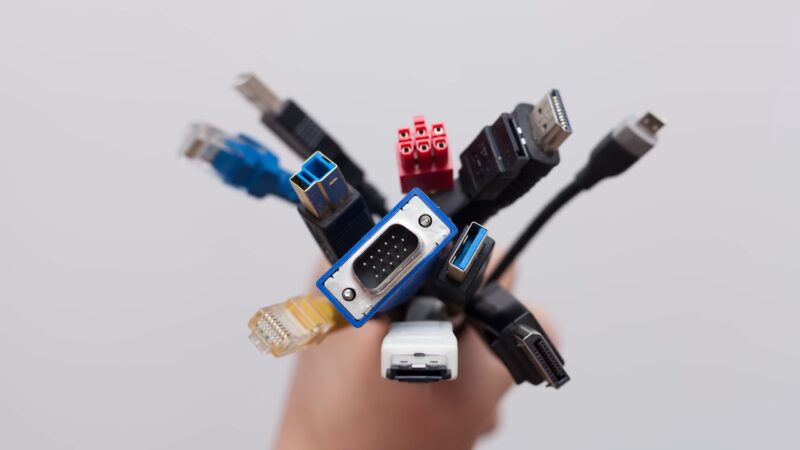
Types of Cables and Compatibility
- HDMI: Widely used for its ability to carry both video and audio signals.
- DisplayPort: Offers higher bandwidth, making it suitable for high resolutions and refresh rates.
- VGA: An older standard that carries only video signals. Ensure your device supports VGA if this is your option.
- DVI: Transmits video signals and supports fairly high resolutions.
Tips for Troubleshooting
- Try a Different Cable: If available, use a different cable to determine if the issue is with the cable itself.
- Check for Physical Damage: Look for any signs of wear, tear, or damage along the cable’s length and at the connectors.
- Cable Quality Matters: High-quality cables are less likely to suffer from signal degradation, especially over longer distances.
2. Power Cycle Monitor and System
Power cycling can reset the system’s state and resolve display issues. This process involves turning off the device, then turning it back on, which can help clear any temporary glitches affecting the display.
Steps to Power Cycle
- Turn Off the Computer and Monitor: Shut down the computer through the operating system. Turn off the monitor using its power button.
- Unplug from Power Source: Disconnect both devices from their power sources. This step ensures any residual power is drained.
- Wait a Moment: Leave the devices unplugged for at least one minute. This pause allows the system to reset.
- Reconnect and Restart: Plug the devices back into their power sources. Turn on the monitor and then the computer.
Why Power Cycling Helps?
- Resets Hardware State: Clears any temporary configurations that might cause compatibility issues.
- Refreshes Connection: Helps in re-establishing a stable connection between the computer and the monitor.
Tips for Effective Power Cycling
- Check Power Connections: Ensure all cables are securely plugged in after the power cycle.
- Monitor the Startup Process: Look for any error messages that appear during boot-up, which can indicate other issues.
3. Boot into Safe Mode
Booting into Safe Mode can help diagnose and fix display issues. Safe Mode loads the operating system with a minimal set of drivers and services. If the monitor works in Safe Mode, the issue might be related to a driver or software.
How to Activate Safe Mode?
- For Windows: Restart the computer and press the F8 key (or Shift + F8) before the Windows logo appears. Select Safe Mode from the options.
- For Mac: Turn on the computer and immediately press and hold the Shift key until the login window appears.
Benefits of Safe Mode
- Diagnostic Environment: Helps identify if third-party software or drivers cause display problems.
- Stability: Runs the system with essential files and drivers, which can be more stable for troubleshooting.
Steps After Safe Mode
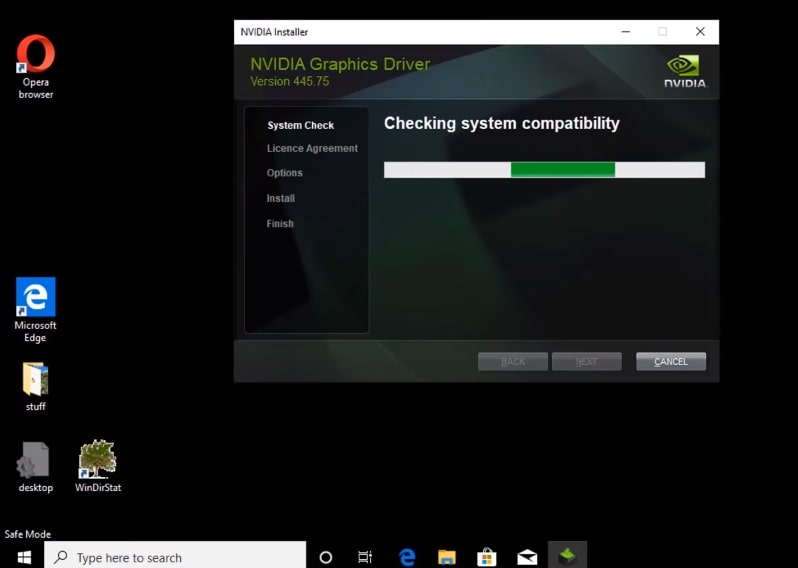
- Update Drivers: If the monitor works in Safe Mode, update display and graphics drivers.
- Uninstall Recent Software: Remove any software installed before the problem started.
4. Adjust Screen Resolution and Refresh Rate
Incorrect screen resolution or refresh rate settings can trigger “Input Not Supported” errors. Adjusting these settings to match your monitor’s specifications can resolve the issue.
How to Adjust Settings?
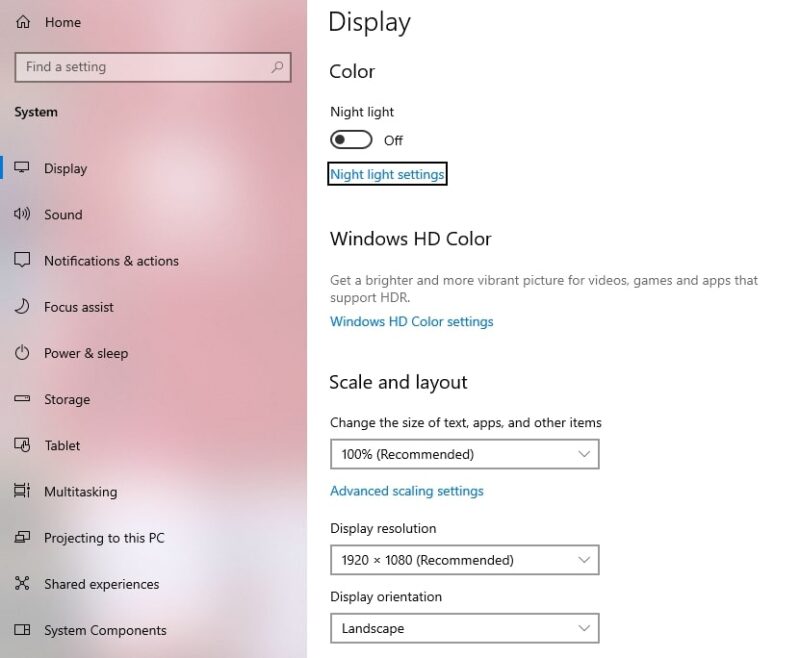
- Access Display Settings: Right-click on the desktop and select “Display settings” for Windows or “System Preferences” > “Displays” for Mac.
- Choose Recommended Resolution: Select the resolution recommended by your monitor manufacturer.
- Adjust Refresh Rate: Find the refresh rate options and choose one that your monitor supports.
Importance of Correct Settings
- Compatibility: Ensures the computer’s output matches the monitor’s capabilities.
- Optimal Performance: Provides the best visual quality and reduces strain on the eyes.
Troubleshooting Tips
- Consult Monitor Manual: Check your monitor’s specifications for the correct settings.
- Test Different Settings: If unsure, test various resolutions and refresh rates to find the most stable configuration.
5. Update Display and Graphic Drivers
Outdated or corrupted drivers can cause “Input Not Supported” errors. Updating your display and graphics drivers can fix compatibility issues and improve performance.
How to Update Drivers?
- Device Manager: On Windows, open Device Manager, find your display adapter, right-click it, and select “Update driver.”
- Manufacturer’s Website: Visit the website of your graphics card or monitor manufacturer for the latest drivers.
Benefits of Updated Drivers?
- Enhanced Compatibility: Ensures your hardware works seamlessly with the latest software and operating systems.
- Improved Performance: Can lead to better frame rates and higher quality graphics.
Tips for Driver Updates
- Automatic Updates: Enable automatic updates in your system settings to keep drivers up to date.
- Backup Before Updating: Create a system restore point before installing new drivers, allowing you to revert if needed.
FAQs
Can RAM cause no display?
Yes, faulty or incompatible RAM can cause no display on your monitor. You can try reseating the RAM modules, checking the compatibility, or updating the BIOS to fix this issue.
How do I fix no HDMI?
There are several possible solutions to fix no HDMI signal from your device. You can check the input source, change the projection setting, power cycle your monitor, try another HDMI port or cable, update your drivers, or use a different output type.
Can I use my laptop as a monitor?
Yes, you can use your laptop as a monitor for another computer or device. You can either extend your laptop’s display to an external monitor using HDMI or DisplayPort, or use your laptop as a second screen for a desktop PC using a software solution.
Is DisplayPort better than HDMI?
It depends on the versions of DisplayPort and HDMI available on your devices. Generally, DisplayPort offers higher bandwidth, resolution, and refresh rate than HDMI, as well as support for MST and FreeSync. However, HDMI is more widely compatible and supports HDR and eARC.
Last Words
To tackle an “Input Not Supported” error, action and knowledge go hand in hand. The strategies shared aim to empower users to address this common yet disruptive issue efficiently.
With these options, overcoming technical obstacles becomes a straightforward task, allowing for a swift return to optimal monitor performance. For persistent challenges, professional help stands as a reliable option, ensuring that your digital environment remains conducive to productivity and enjoyment.